Powering-on
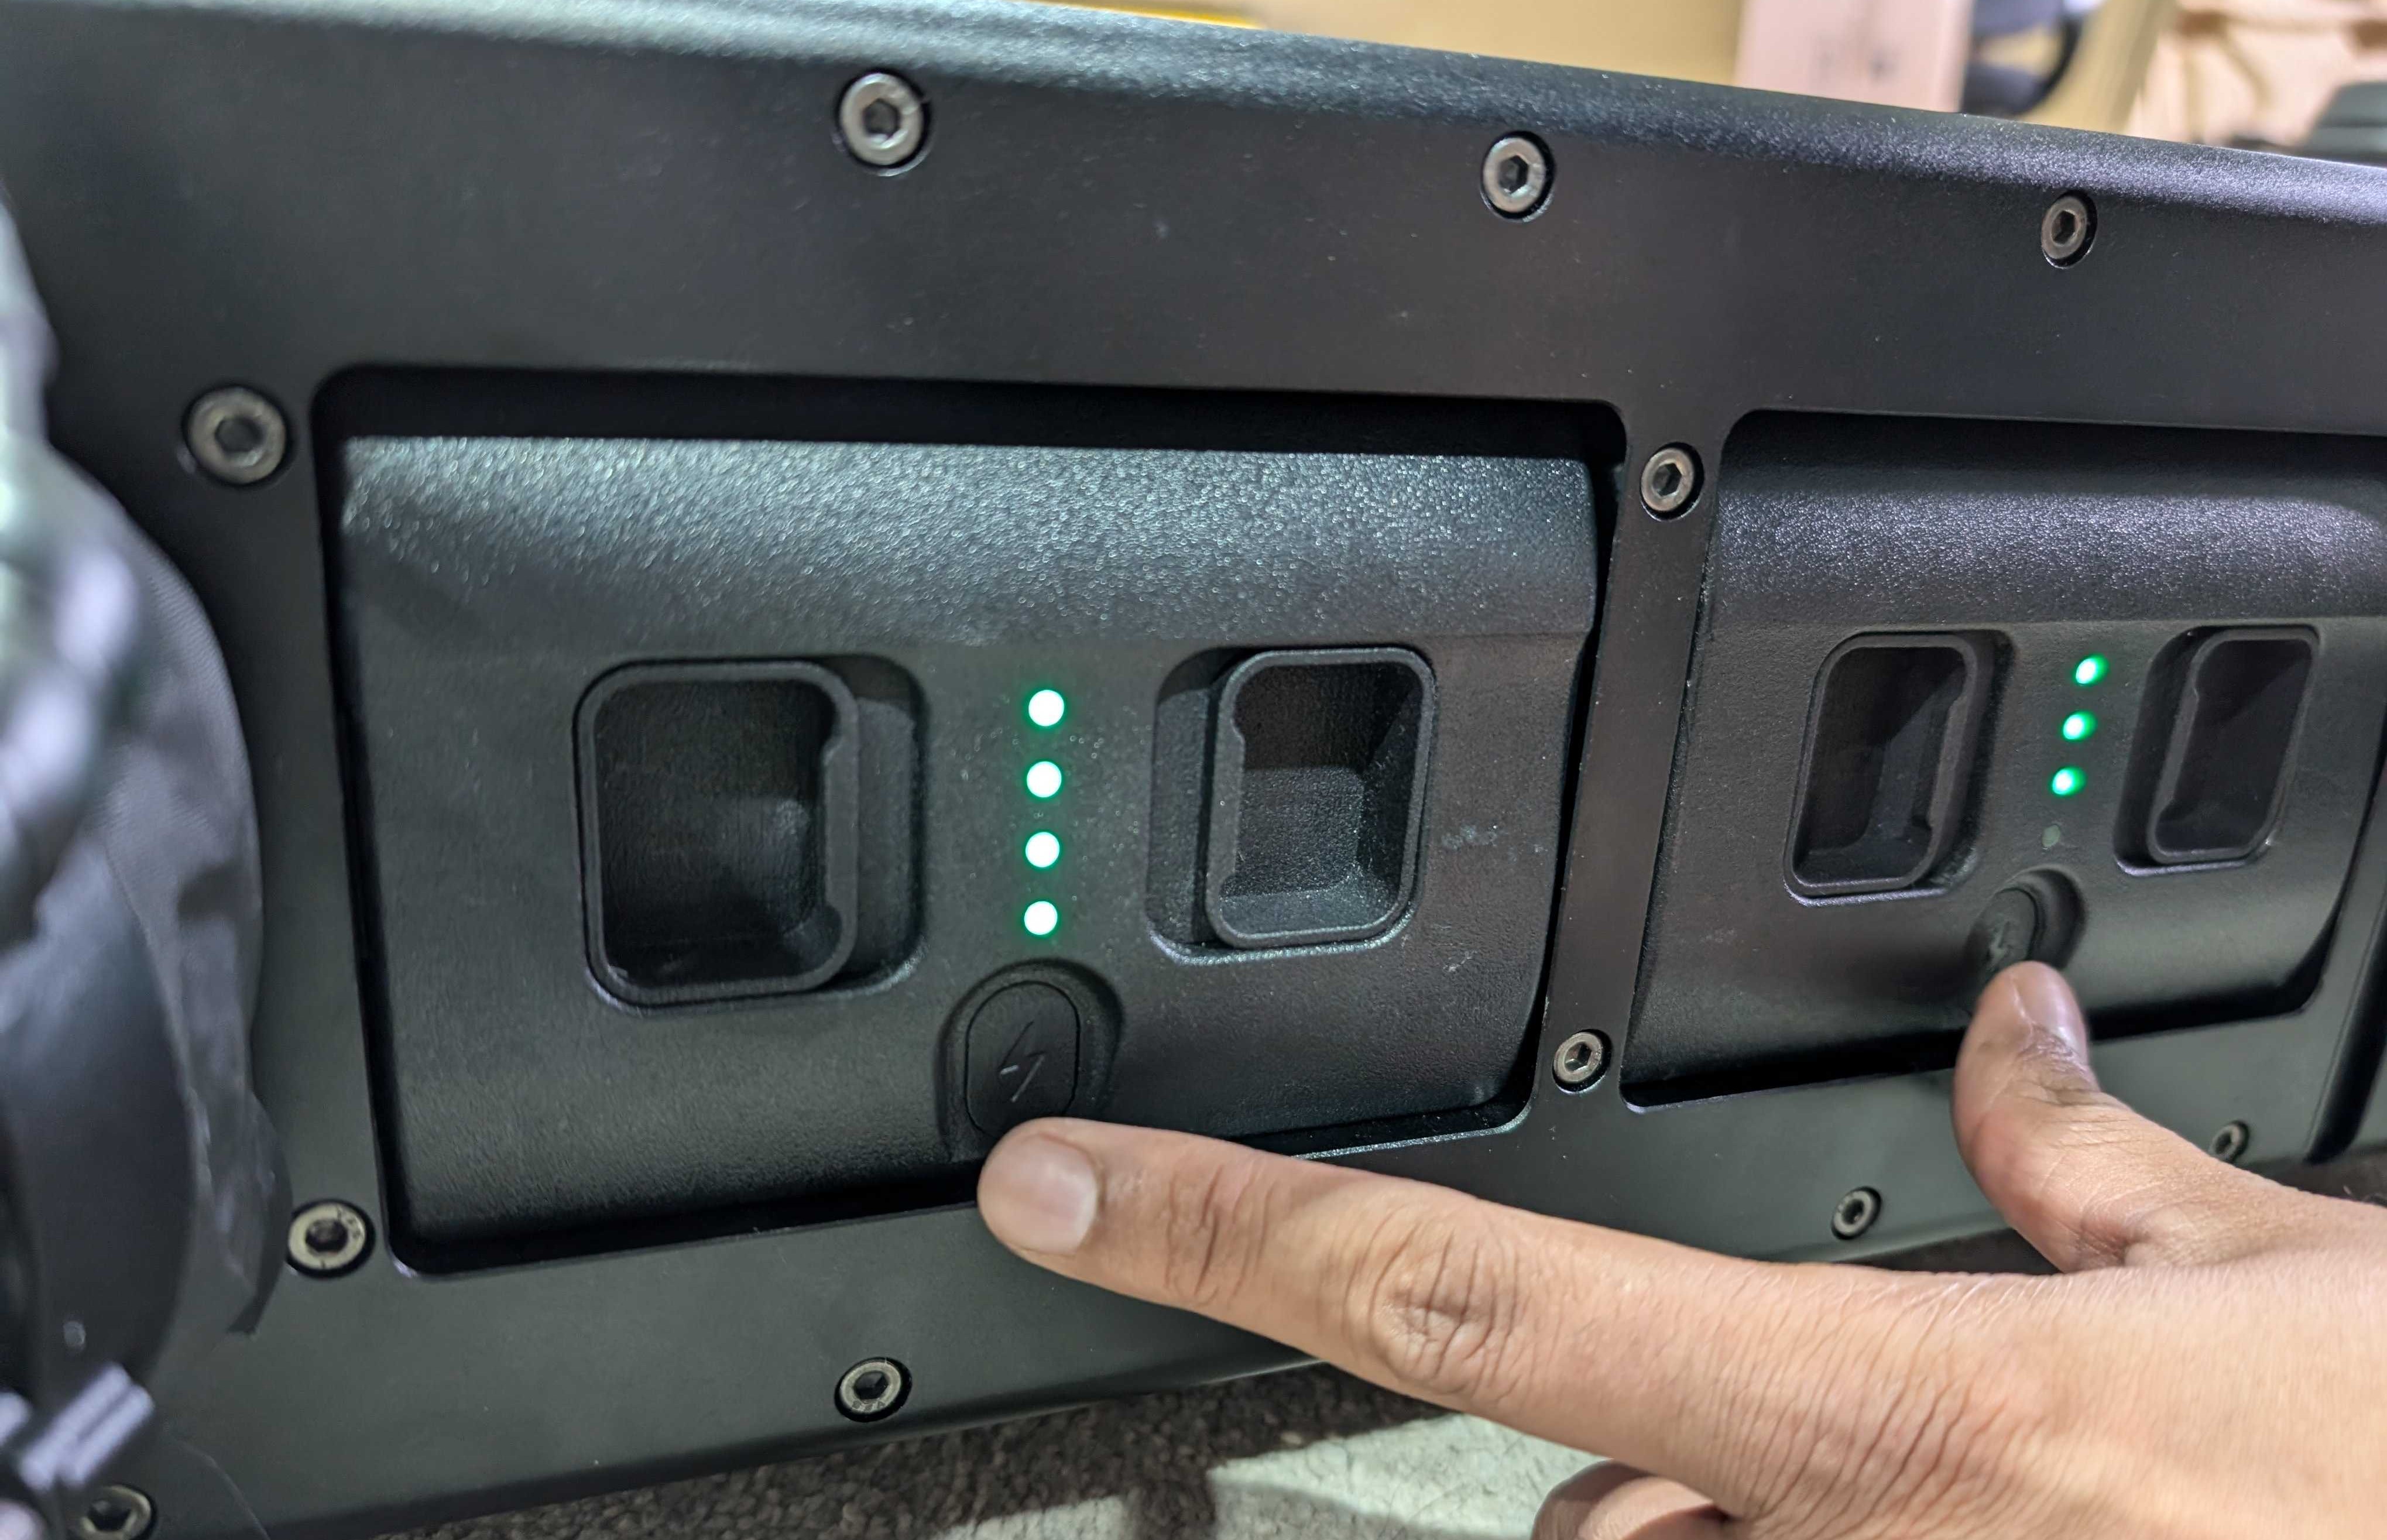
Battery Power Button: Use the buttons on both batteries to power on the robot.
To power on the H1 robot, press the power button on both batteries simultaneously once, and then press and hold for 3 seconds to start the robot.
The battery compartments are located beneath the left arm of the robot.
Similarly, to turn off the robot, press the power button on both batteries simultaneously once, and then press and hold for 3 seconds to turn off the robot.
Note
Please be cautious with battery consumption. Continuously monitor the battery levels. If any battery is depleted, the robot will fall.
Network Interface
Instructions for interfacing with the robot using Ubuntu 20.04 and ROS2 Foxy.
This procedure should be followed after successfully setting up and pairing with the H1 robot. Additionally, all of the H1’s functionality should be verified through the accompanying app before proceeding.
The Ethernet port, located beneath the right arm of the H1 (the fourth port from the top), can be used to establish communication via LAN. However, a special adapter cable is required, as a standard Ethernet cable cannot be inserted directly into the port.
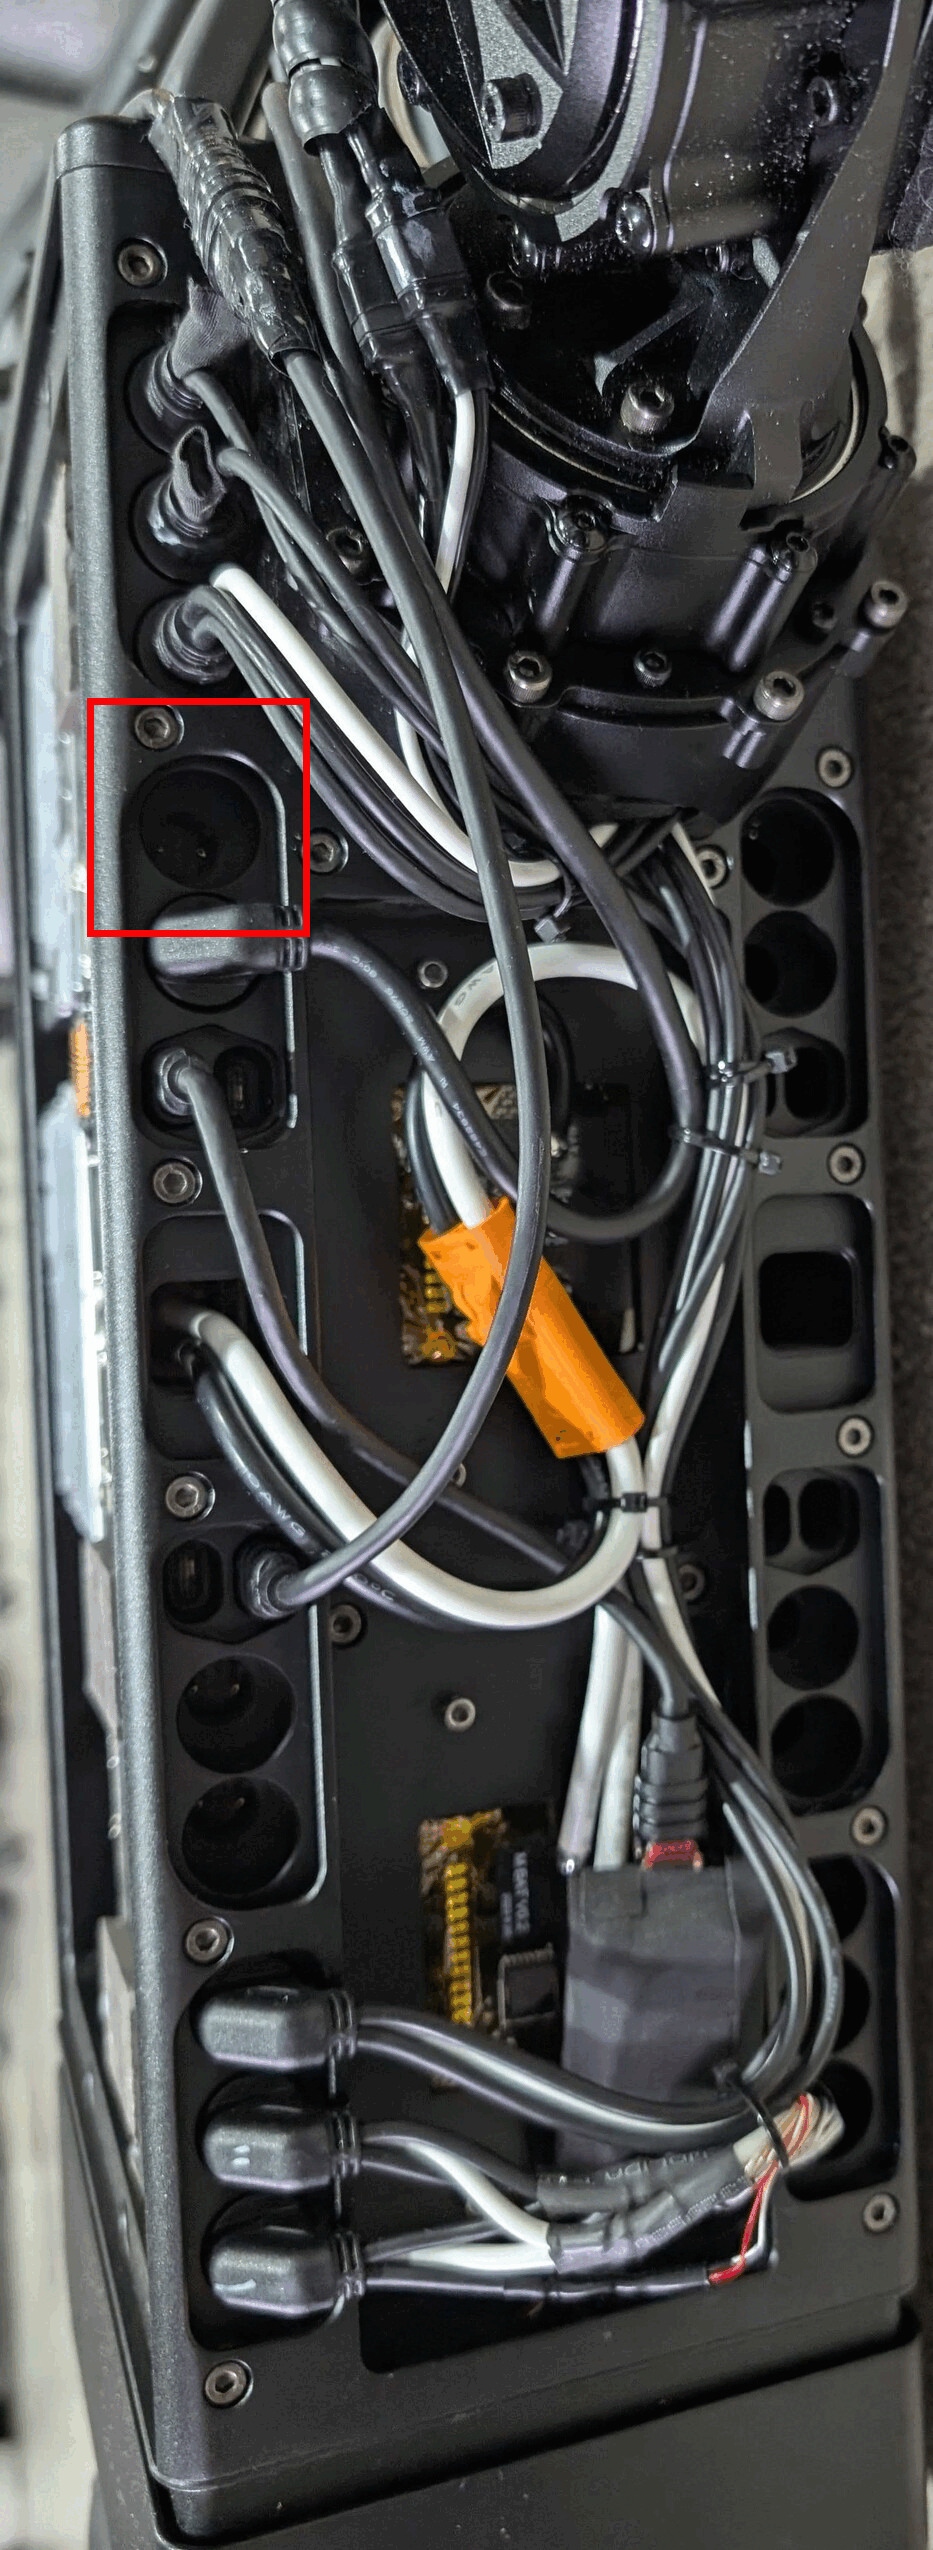
Port Location on H1 (Real Robot) |
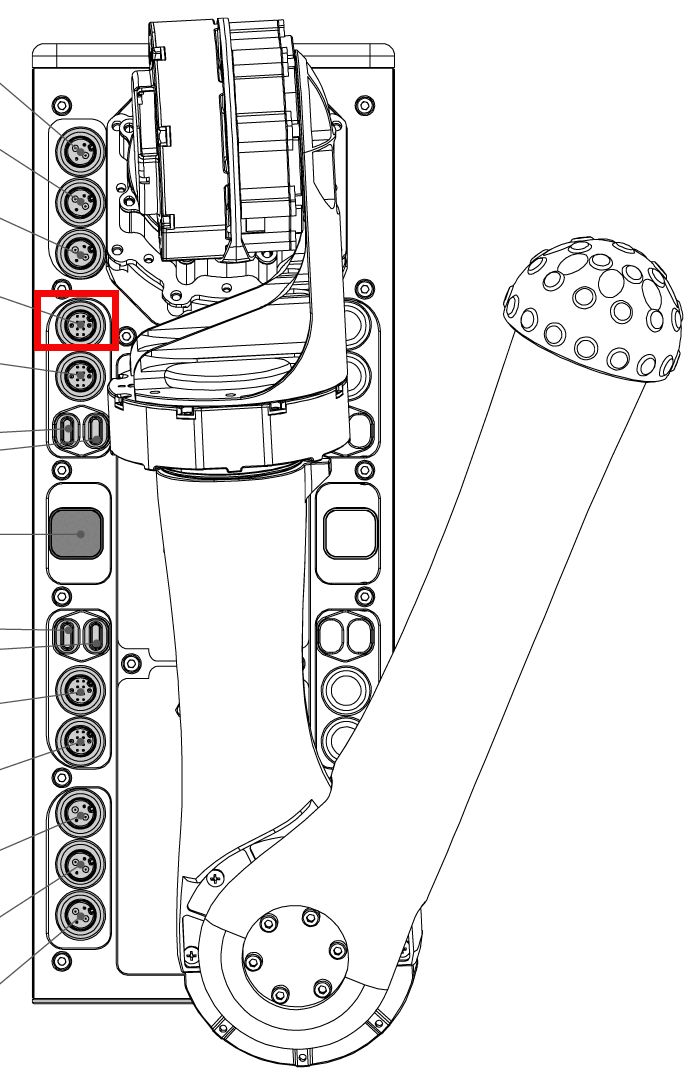
Port Location (Layout Diagram) |
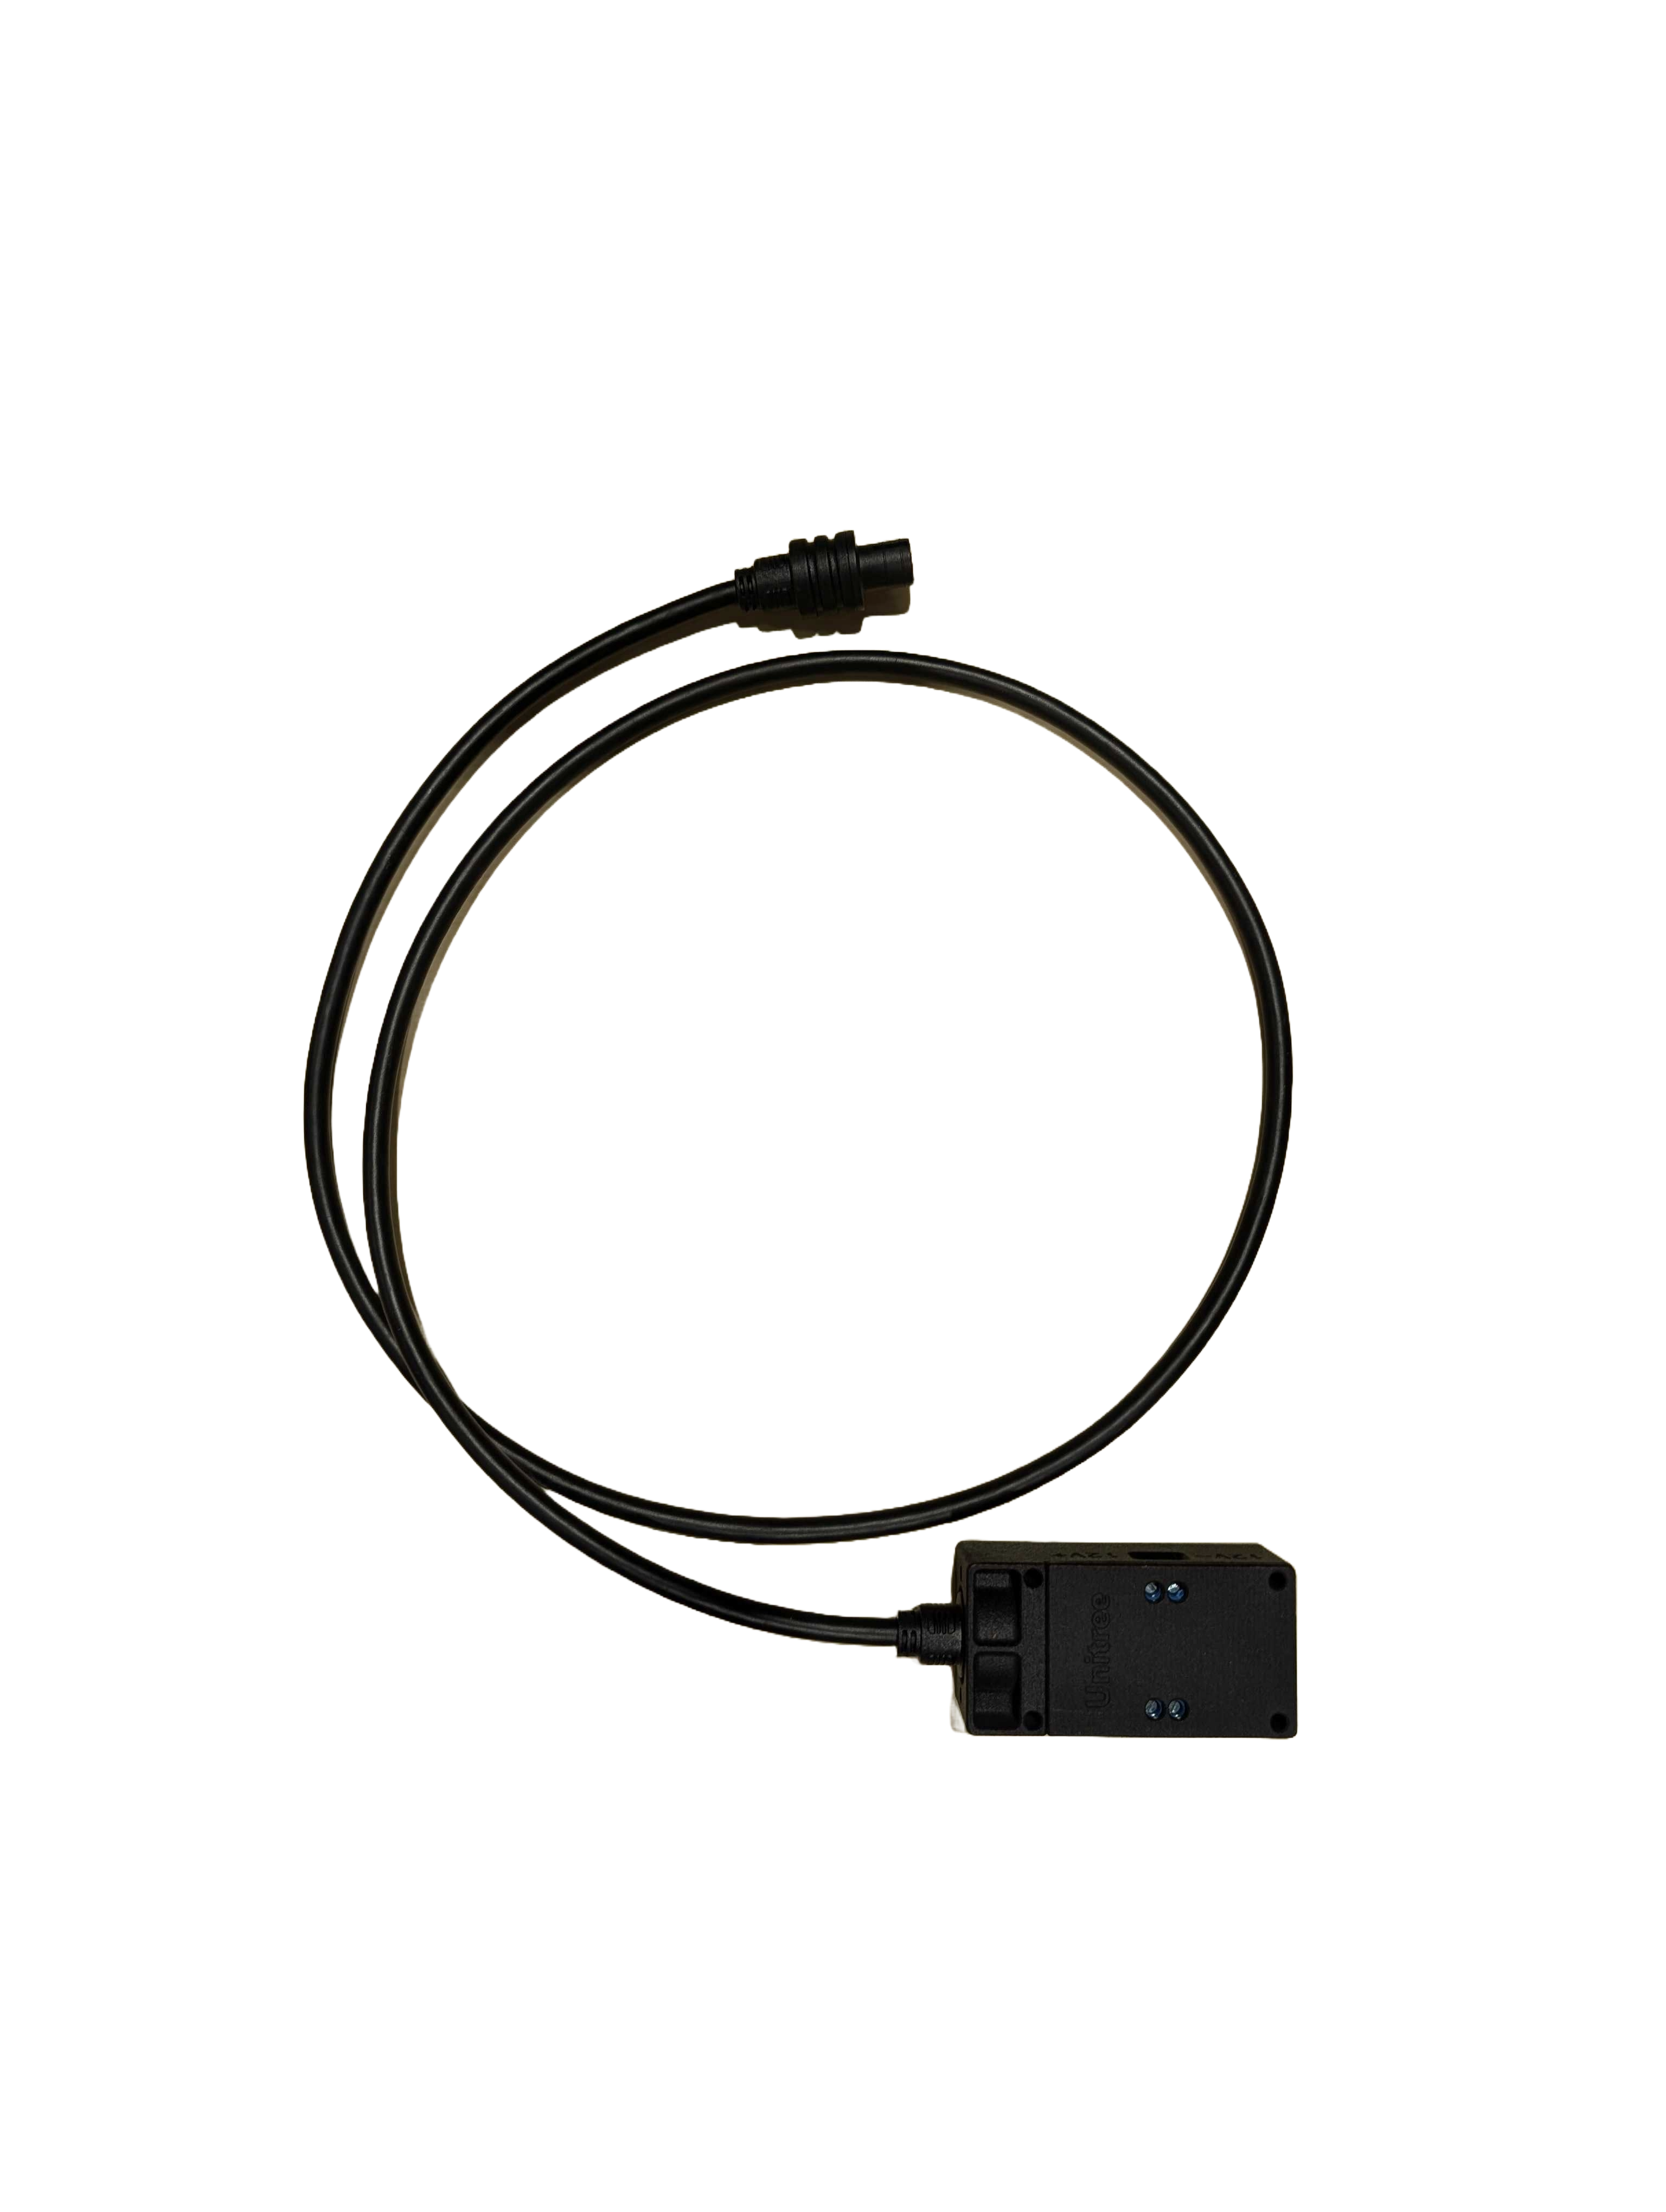
Ethernet Adapter |
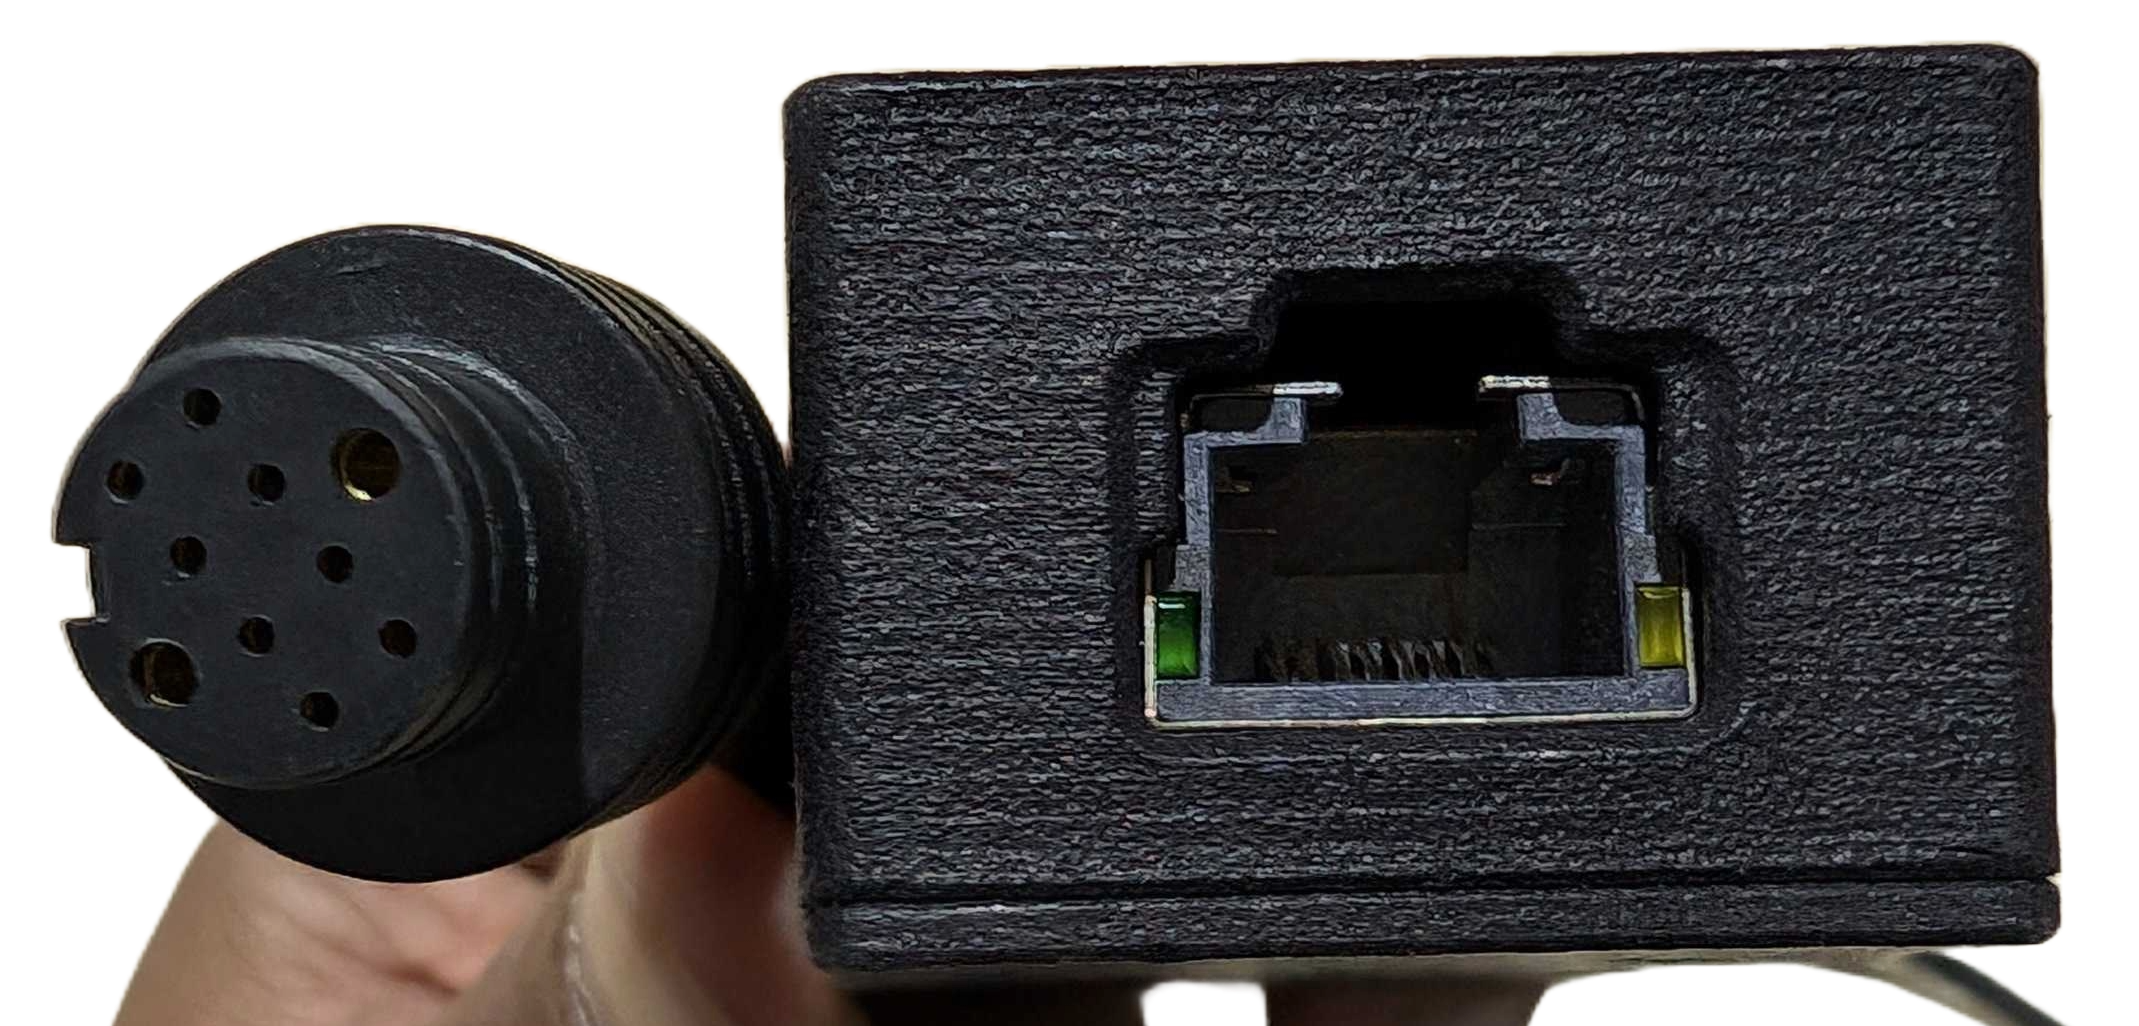
Ethernet Adapter Cable Ends |
Network Setup
To configure the robot’s network for the first time, you need to connect using a LAN cable.
To create a static connection on your PC (not on the robot), follow these steps in Ubuntu:
Go to Settings → Network, then click on the + button to create a new connection.
In the IPv4 settings, change the connection type to Manual.
Set the Address to 192.168.123.51 and the Netmask to 24.
Click Save, then restart your network.
After successfully connecting, check the host’s local IP by typing the following command in the host PC’s terminal:
ifconfig
Now, ping the robot by entering:
ping 192.168.123.162
ping 192.168.123.164
To access the robot via SSH, use the following command:
ssh -X unitree@192.168.123.162
ssh -X unitree@192.168.123.164
The default password is:
Unitree0408
IP Addresses
IP Address |
Device |
Username |
Password |
|---|---|---|---|
192.168.123.161 |
H1 MCU |
x |
x |
192.168.123.164 |
H1 Auxiliary PC 2 |
unitree |
Unitree0408 |
192.168.123.164:9000 |
H1 Webserver MBS |
admin |
mybotshop |
192.168.123.165 |
H1 Nvidia BagPack |
administrator |
mybotshop |
192.168.123.120 |
Mid360 Lidar |
x |
x |
192.168.123.20 |
Ouster Lidar |
x |
x |
Note
Sometimes other networks can cause disruptions when connecting to the H1. It is best to have only your connection to the robot active and disable all others.