Quick Start
Startup Procedure
Startup from Supine Position
Step 1: Pre-start Checks
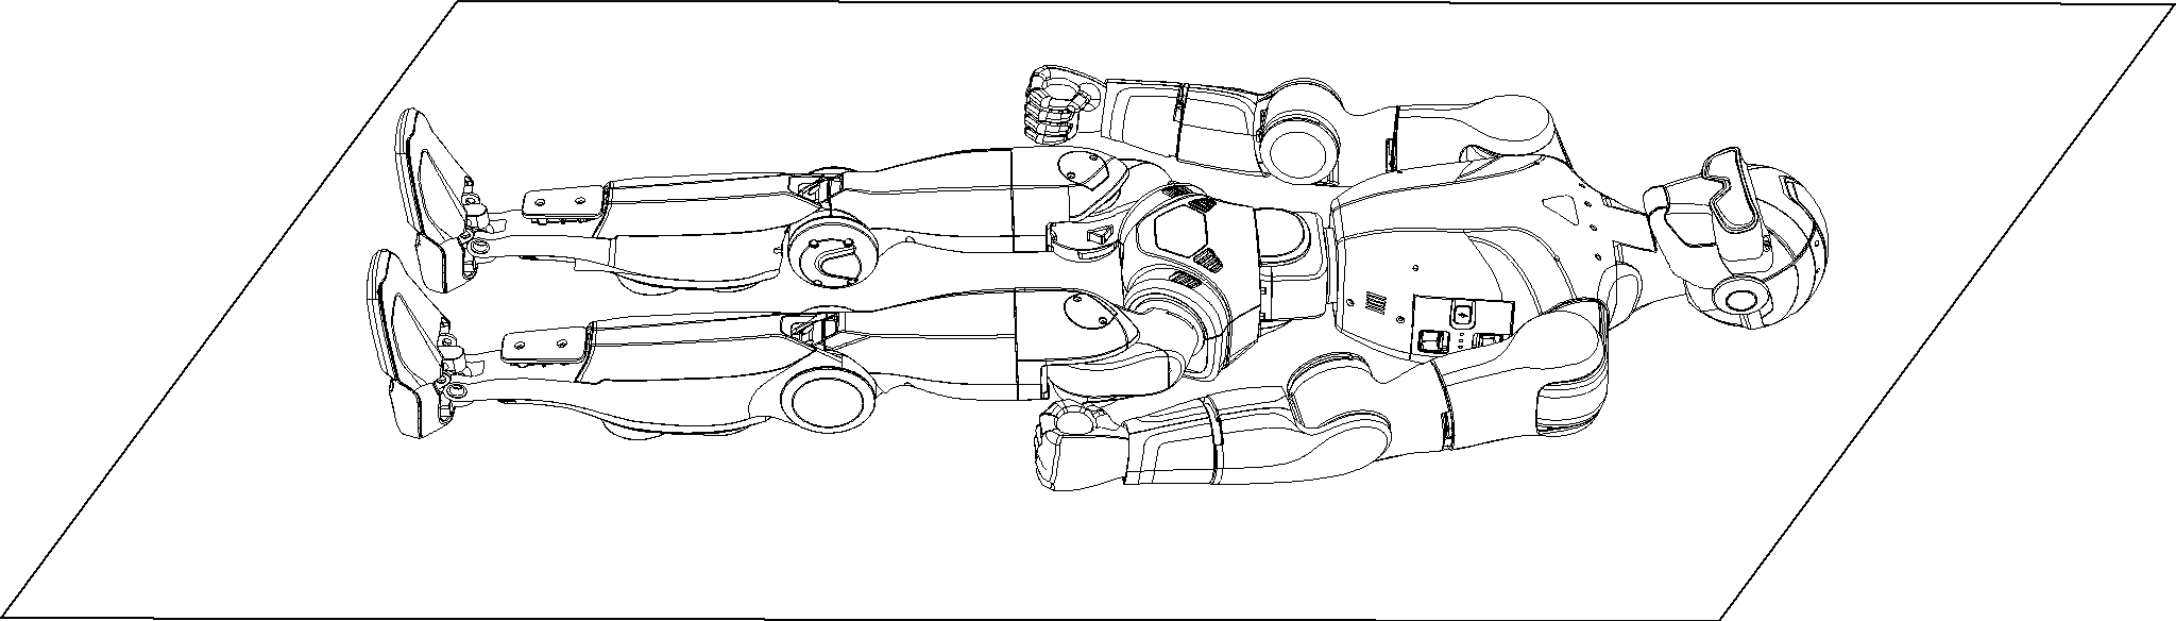
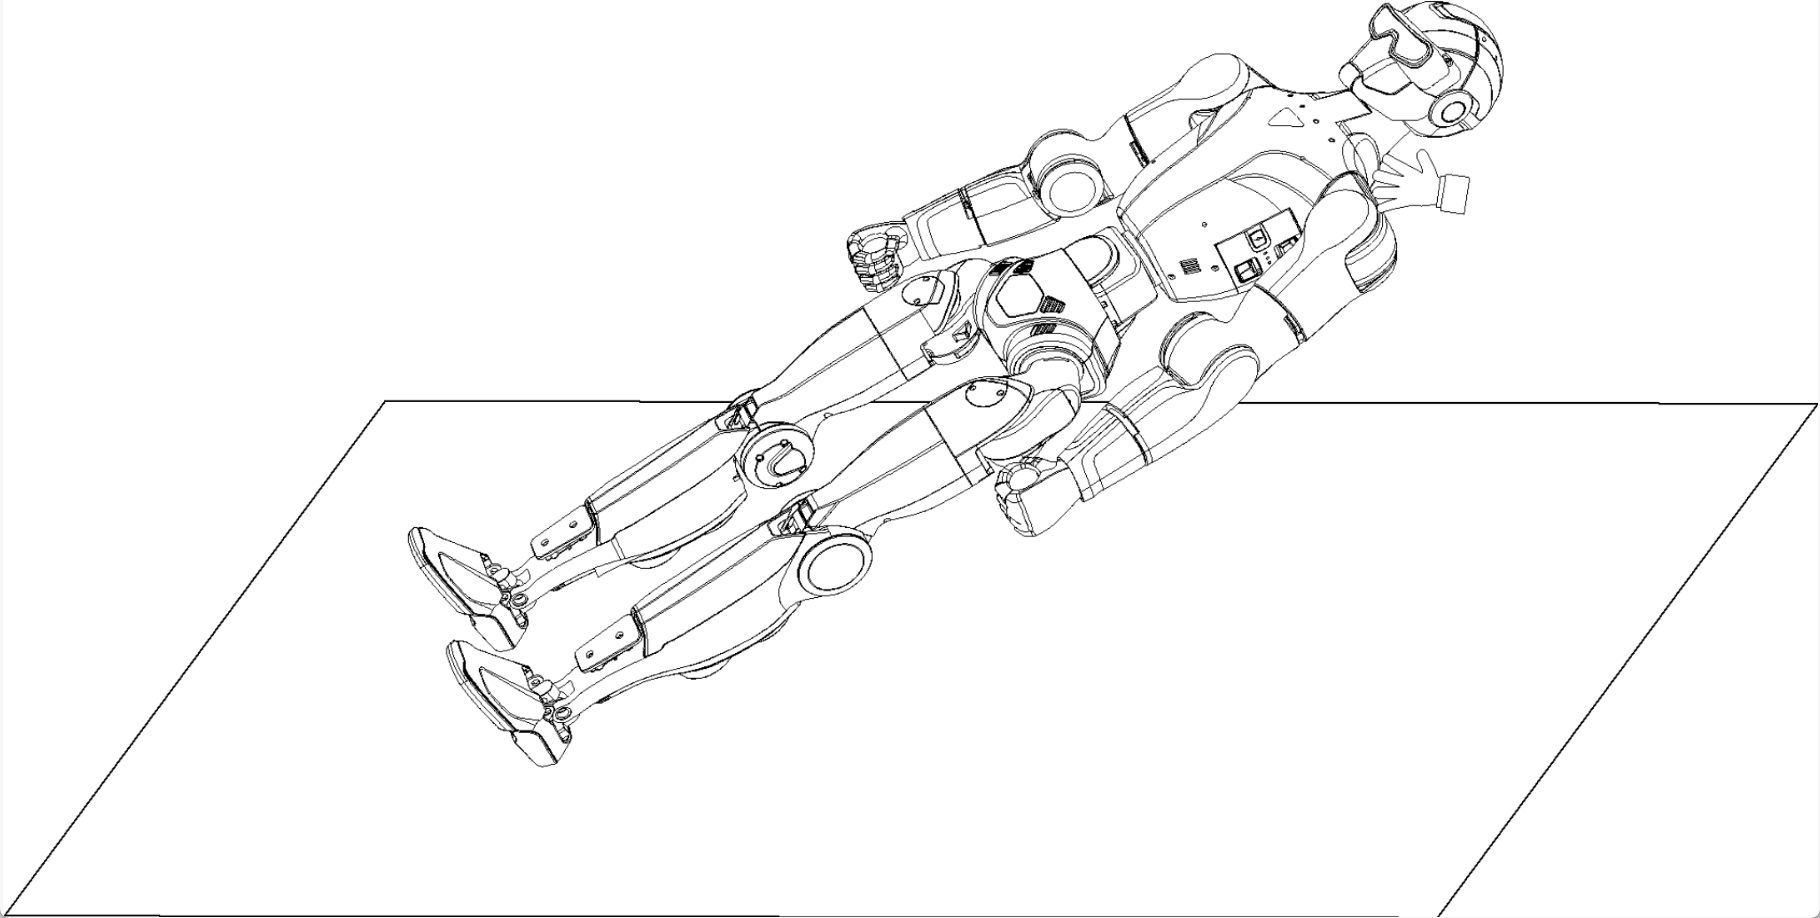
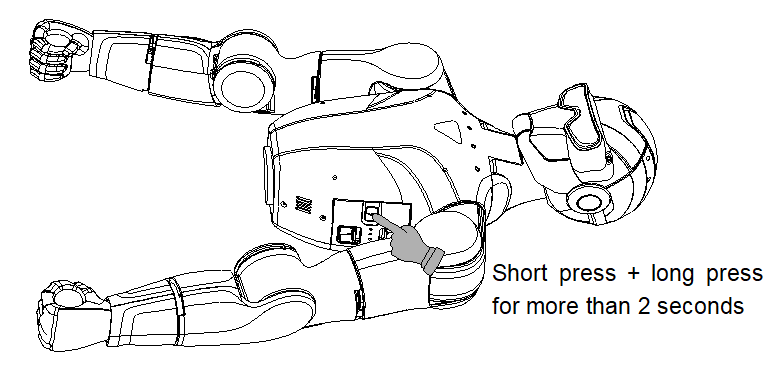
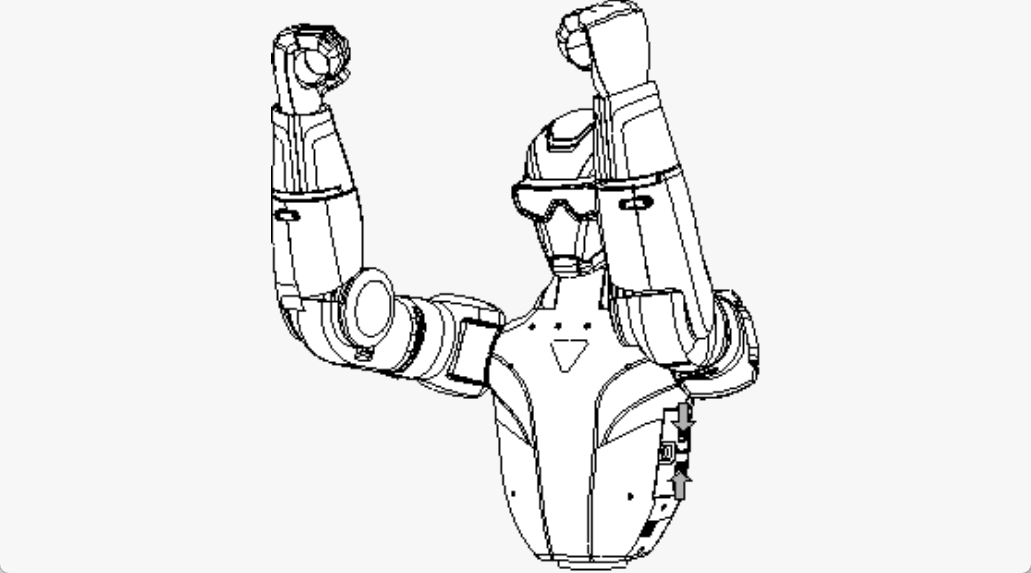
Before powering on, place the R1 flat on the ground with its front side facing upward. Ensure the surrounding area is clear of people and obstacles. Arrange the robot’s arms and legs in a natural, relaxed posture as illustrated in the reference figure.
Step 2: Install the Battery Pack
Insert the battery pack into the battery compartment from the side of the robot. Ensure the power switch is facing toward the front of the R1.
If the battery does not slide in smoothly, remove it and adjust the orientation. Do not apply force, as this may damage the battery connector or locking mechanism. A clear click sound indicates successful installation. Confirm that the latch is fully secured.

Inserting Battery |

Powering On |
Step 3: Power On
After confirming that the robot is correctly positioned and the area is clear, power on the battery using the following sequence:
Briefly press the battery power button once.
Press and hold the button for more than 2 seconds to turn on the battery.

Step 4: Start the Robot
After the power-on sequence, wait approximately 1 minute until the R1 enters the zero-torque state. Make sure the environment remains unobstructed during this process.
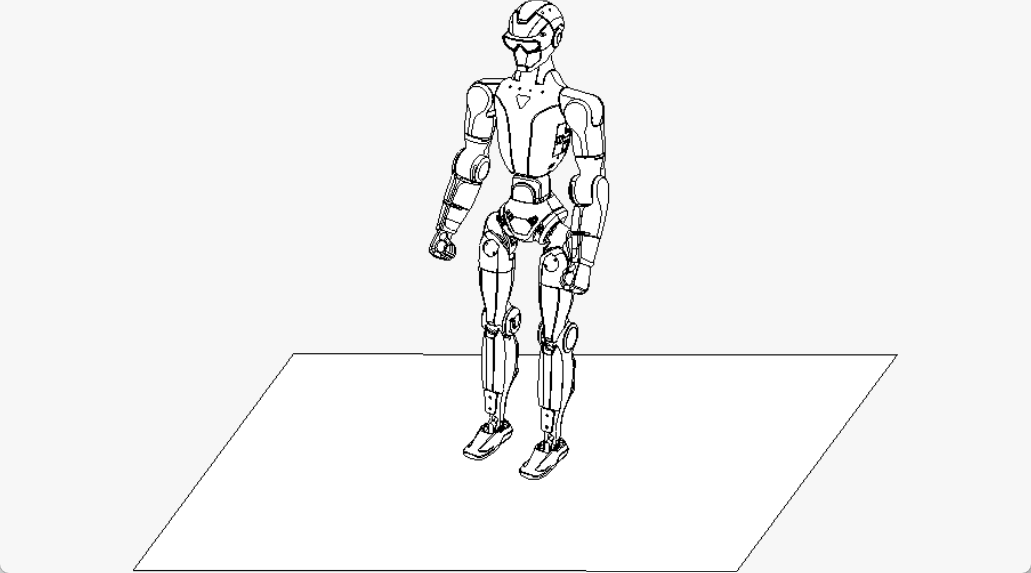
Press L2 + UP to switch the robot into the standing preparation posture. Firmly hold the handle located at the back of the R1’s shoulders and assist the robot as it rises to a standing position.
Warning
Do not release the robot at this stage. The R1 cannot actively maintain balance while entering the standing posture.
Once the robot is fully upright, press R2 + A to enter the walking/running motion control mode. At this point, the robot can actively balance itself and you may safely let go.
Emergency Stop
If the R1 enters an abnormal or unsafe state, press and hold L2 + B for more than 5 seconds. The robot will switch to a damping mode and gradually lower itself to the ground.
Startup from Standing Position
Step 1: Pre-start Checks
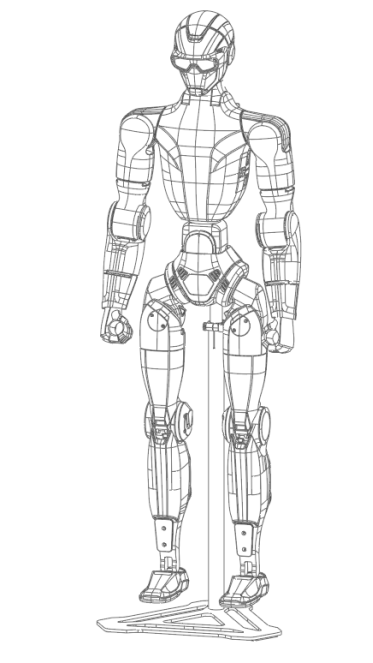
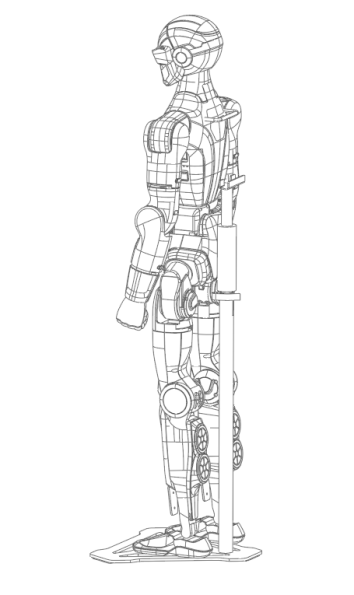
Before powering on, suspend the R1 using a suitable support frame, with the robot’s front facing forward. Verify that the surrounding area is clear of people and obstacles. Arrange the arms and legs in a natural resting posture as illustrated in the reference figure.
Step 2: Install the Battery Pack
Insert the battery pack into the battery compartment from the side of the robot. Ensure the power switch is oriented toward the front of the R1.
If the battery does not insert smoothly, remove it and adjust the orientation. Do not force the battery, as this may damage the connector or locking mechanism. A distinct click confirms successful installation. Verify that the latch is fully engaged.

Inserting Battery |

Powering On |
Step 3: Power On
After completing the pre-start checks and confirming that the area around the robot is clear, power on the battery using the following sequence:
Briefly press the battery power button once.
Press and hold the button for more than 2 seconds to turn on the battery.
Step 4: Start the Robot
After the short press followed by the long press, wait approximately 1 minute until the R1 enters the zero-torque state. Ensure the surroundings remain unobstructed during this time.
Press L2 + UP to enter the standing preparation posture. Firmly hold the handle at the back of the R1’s shoulders, then release the quick-release clamp on the support frame. Gradually lower the support bracket to allow the robot’s feet to make contact with the ground, assisting the robot as it transitions to a standing position.
Warning
Do not release the robot during this step. The R1 is not yet capable of actively maintaining balance.
Once the robot is upright and stable, press R2 + A to enter the walking/running motion control mode. At this point, the robot can actively balance itself and you may safely let go.

Emergency Stop
If the R1 enters an abnormal or unsafe condition, press and hold L2 + B for more than 5 seconds. The robot will switch to a damping mode and gradually lower itself to the ground.
Shutdown Procedure
Powering Down the R1
Before shutting down the R1, move the robot to an open area, ensuring there is enough space behind it. Grasp the rear handle and press L2 + UP to bring the R1 into its standing preparation posture. Do not release the handle at this stage, as the robot cannot maintain balance on its own.
Steps to shutdown:
Gently lay the R1 on its back on a flat surface.
Press L2 + Y to activate zero-torque mode.
Briefly press the battery power switch, then press and hold it for more than 2 seconds to turn off the robot.
After powering down, adjust the robot’s arm and leg joints according to the required body positioning for the next startup.
|

|
Important: If the R1 will remain unused for a long period, remove the battery pack immediately. Press the battery latch with both hands to safely detach the battery.
Exercise caution around moving joints to avoid pinching your hands.